Window Setup and
Orientation
To simplify your learning curve, Tradepoint has been
designed with a "one window design applies to all" approach. Once you understand how a window
works in Tradepoint you will have pretty much learned the entire software.
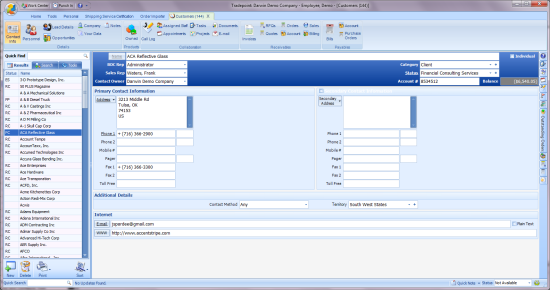
Almost every Tradepoint window is divided into two
main parts:
1. The left "Record Selection" side of
the window:
2. The right hand "Content Delivery" side
of the window:
The "Record Selection" is usually divided into three
parts:
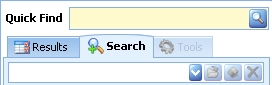
Top
1. At the top you will see a "Quick
Search" selection tool. This tool searches your database using alpha-numeric
criteria in order to list specific contacts records for you. For example: when you type in "Nor" into
Tradepoint's search field, Tradepoint will return all contacts that start with
the letters "Nor". If no results
are found, no results will be displayed.
Through Tradepoint security you can also specify what staff members can
see different types of records (only their own records, all records in the
company, etc.). If you are just
starting with Tradepoint, clicking the search button will yield no results
until you add at least one contact item.
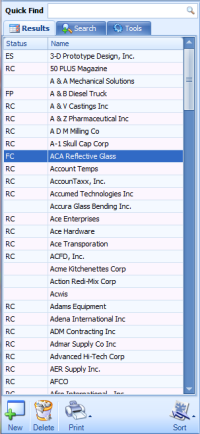
Middle
2. The middle of the Record
Selection region is reserved for displaying search results for your quick search
criteria.
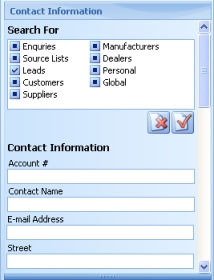
Bottom
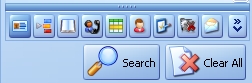
3. The bottom of the Record Selection
region of your window is reserved for Action Items having to do with the above
information. Adding new Contacts, Deleting Contacts, Printing Reports, Sorting
the List, Moving Contacts to other contact types (Lead to Customer for
example) within the software, and Mail Merging.
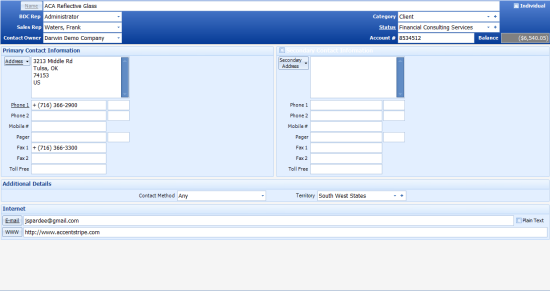
The "Content Delivery" section of your window is
divided into three parts:
Top
1. The top of the screen contains the
contact management information for the item you are working on: Status, Category
Information, Sales Rep allocation etc.

Main
2. The main area of the screen displays your
needed content information regarding that contact or item.

Menu
3. On the top of the "Content
Delivery" section of your window you will also see a Content Delivery menu
selector (Details, Personal, Lead info, etc) and menu items (Contact Details,
Company Info, Custom Info, etc).
It is through this selector that you are able to access the all of the
information for each contact or item: Control Billing, Phone Numbers, Assign
Staff and a whole lot more depending on the window you are viewing.

! You must be viewing a record
for any of the above to be active for navigation. When the screen
first loads, no records are selected. !
Depending on the sub menu you have
chosen from the Menu Selector, you will often see Action Buttons below the
"Content Delivery" section of the screen.
These "Action Buttons" directly control the information that is above it
(in the content delivery section) in the same manner that the buttons in the
"Record Selection" area of the window controls its above information. Some actions of these
Content Action Buttons include, editing information, printing
information and other things each icon will describe. To learn more about each button simply
mouse over it and a pop up window will describe the function of each
button.
Auto Saving
All
Tradepoint windows automatically save upon information change therefore you
never have to worry about pressing a save button after you make any information
changes on a record. By simply
clicking out of windows or changing the menu selector, Tradepoint will
automatically save your changes to the database. The only time this is not the case is
when a button at the bottom of the screen automatically appears that says
"Save"
Click
Here to Return to Introduction to Tradepoint Index.