10.4 Custom Fields
Mar/29/2007
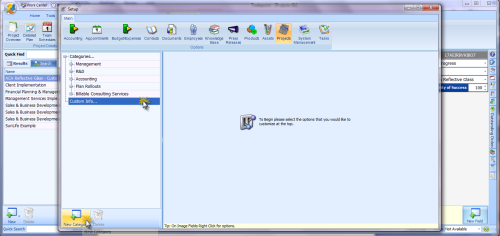
Custom fields can be created for projects using the
configure tool within found under the custom info button in projects.

Clicking the
new field button will open the configure tool to set up header fields and
different types of fields within projects. Any custom fields setup within this
screen will be visible for all projects.
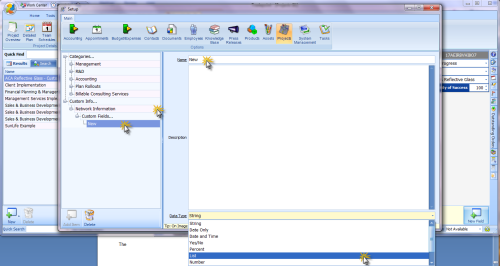
The first
screen will ask for a Category. This will be the header field for more detailed
fields to appear underneath. In this case the category will be network
information and additional fields will be setup underneath.
In the image
below the category has been setup and the first custom field under the category
is being setup including the type of field. Types of fields are fields that hold
data in a specific format. Formats include: string (alpha-numeric data, date
only, date and time, Yes/No (check box fields), percent, list, number, decimal
number, currency.
The drop down field showing in the image below is how
the field can be assigned the data format. The default for custom fields is
string data format.
Once the fields
have been setup then close the configure tool by using the X in the upper right
corner of the screen. The configure tool auto saves so the custom fields will
appear in the screen once the configure tool has been closed.
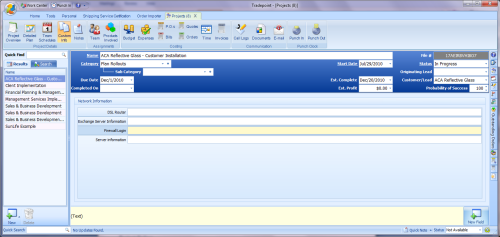
There is no
limit to the amount of custom fields that can be created. A scroll bar will
appear if the fields created are too numerous for the screen. This will
adjust based on the screen resolution being used on each
computer.