1.91 Customizing your Reports
Aug/25/2007
The Customize tool built
into Tradepoint allows you to perform very detailed Customizations to
your Reports. This article is meant to provide an outline to making the
most common Customizations to your Reports so you can get started
quickly, including:
- adding an Image/Logo
- changing font type and size
- changing the color of header
fields
All Reports can be Customized
including: Invoices, Orders, Packing Slips, Purchase Orders and Bills. the
functionality to Customize each of these Reports is consistent. So, adding a
logo to an Invoice will be the same to a Bill, Order, and so on.
From the Print preview screen for an
Invoice the Customize icon is what will take you to the screen where you
can Customize your Reports.

The following screen will be shown
with the template existing within Tradepoint for that report you are
looking to customize. Tools to add a Logo/Image can be found at the top of the
toolbar of the Customization window.
Each of the icons at the top of the
Customize toolbar is a drag and drop tool. Therefore, to add a New Image/Logo to
your Report simply click and drag the tool (icon to where you would like that
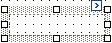
Image/Logo added to your report. When you do drag and drop the Picture Tool a
field similar to the one just below will appear on your Report.

This example provides an existing
logo. Clicking on the blue arrow in the upper left hand side of the field
containing the image will open the menu you see below and allow you to add a
different image by clicking on the top field and finding the location of the
image file on your computer.
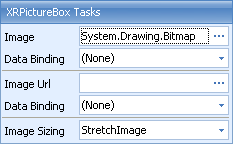
When you have found your Image/Logo
that you would like to add we recommend the Stretch Image Image Sizing Setting
to automatically size the Image to the place it is located on the screen. You
can then use the tools defining the boundaries to resize the image to suit your
Company's look and feel in your Reports.
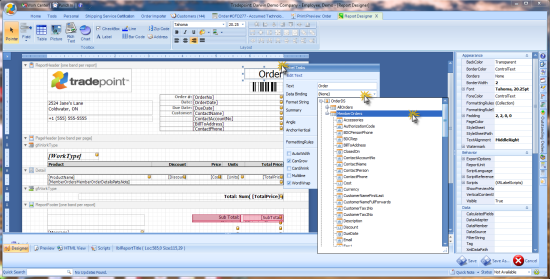
Changing the information in the
database field within a form is done by following the steps shown in the image
below.
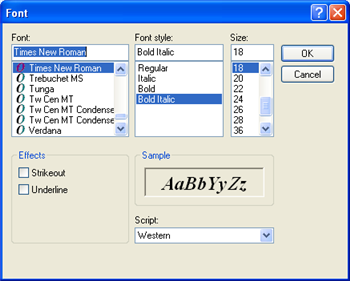
Clicking any text fields will allow you to edit the
text font, font size. You can see tools in the fields allowing you to
adjust the Font as well as color of the text and the background. For now we will
just focus on adjusting the Font type and size.
Clicking on any field in the form
will enable the font tool. The font tool can be found on the menu bar on the
right side of the forms designer.. On the right side of the Font
field click on the three dots are will open the window where you
can specify all the properties of your text.
Changes to your text will be saved
automatically when you are finished.
Changing the color of the header
fields is done using the same tool for editing the Text.

Clicking on the Back Color field
will open the view of the tool to choose a different color for your Header box
background.
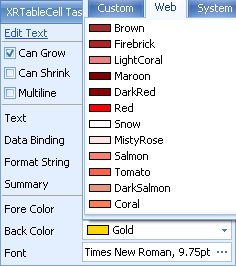
You will be able to scroll down the
list of colors to find one suitable for your reports. Three color palates
exist through the tabs at the top of the menu for different types of color
palates available. Your changes will be saved automatically.