10.15 Using Project Templates
Sep/22/2008
Tradepoint has a
template tool for easy setup of projects. This tool allows for a quicker setup
rather than having to set up each task and appointment related to a project.
Using project
template includes the setup of teams as well. This is ideal for more involved
projects and supports the quick setup with minor adjustments for projects that
are involved but slightly different from one another.
Project templates are
created from the Tools tab and then they appear within the pop-up menu within
projects for one-click access.
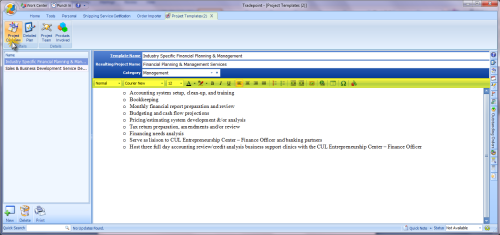
The main setup
options will be available through the icons at the top of the next screen. The
project overview screen will be the first to appear. Text, links, images and
other data can be entered here. Each project that is created will see the
information entered in on this screen.
The tool bar
highlighted above includes tools for adding images, hyper links, spell checking
etc. This screen auto saves any changes made to content.
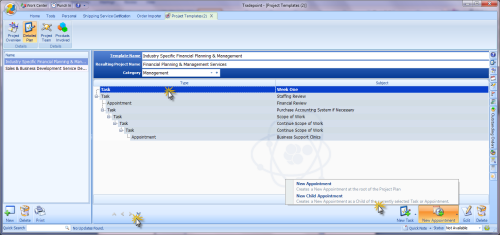
The project plan
screen is where the tasks and appointments are setup for the project template.
Tools to create each task and appointment are found in the lower
right.
Existing tasks and appointments can be manipulated using the arrow
keys in the lower left.
Double clicking on
any existing task or appointment will open the details of that item. A task or
appointment can be added as a sub-task or sub-appointment by highlighting one
and then clicking on the icon with the options in the menu shown
above.
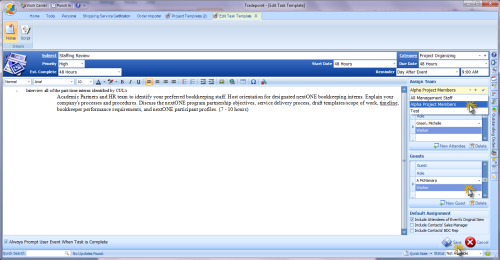
Highlighting a task and clicking on the Edit button will open the task
details. Add team members, notes, documents, and time line
details.
Any details added to
a task here will appear within any new projects created with a template.
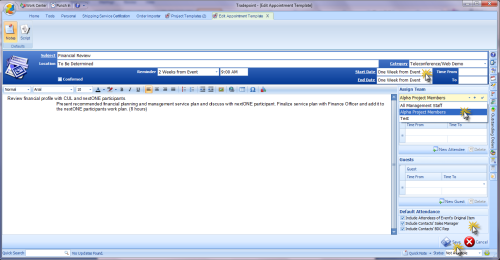
The
same tools apply to appointments as well. Opening an appointment within a
template will allow details to be added to an appointment which in turn will be
available for use with project templates.
Anything added to an
appointment within a template will pass through to any projects created with the
template.
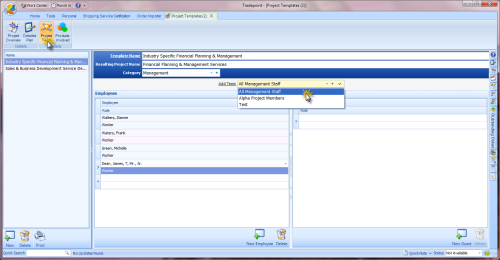
Adding a Team to a project is done through the Project team screen.
Any teams that have been set up prior to creating the template will appear
within the drop down menu.
Adding an
additional Team can be done through the plus button at the end of the Add Team
field(this does require access through security settings to use).
The plus
button will open a configure screen with options to create a new team(icon in
lower left) or add new members to an existing team (highlight team and click
icon in lower right to edit).

The
configure tool automatically saves changes, so click the X in the upper right
corner and changes will be saved.
The final option for project templates is
being able to add associated products involved to a project. This is ideal if
you use similar products or services repeatedly for
projects.
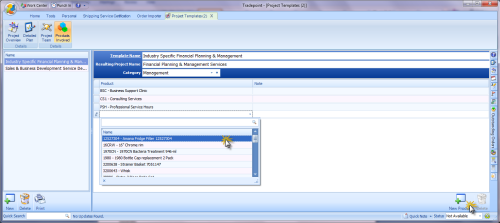
The Products
Involved section will add products to the product Involved section of a project.
This section will not impact the accounting. Being able to associate Quotes,
Order, Invoices, Purchase Orders and Bills to a Project is completely
separate.