8.10 Adding Watermarks to your Documents
Feb/23/2008
Add watermarks to your documents
within Tradepoint by following these steps.
From the Customization screen within a
document(we are using an Invoice for an example) click on the Arrow in the upper
right corner of the edit screen(as shown in the image below).
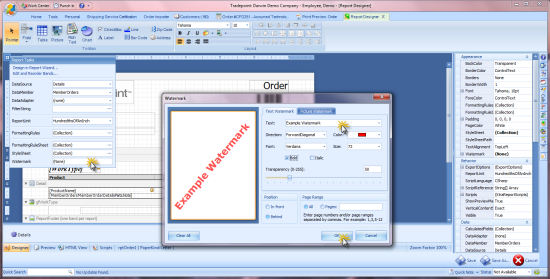
The drop down menu will have the Watermark
option at the bottom of the menu options. Clicking on the three dots in on the
right for the field will open the next menu for you to specify what type of
Watemark you would like and how you want it to look.
Options included in the menu
are:
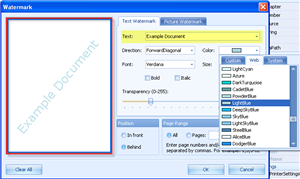
- Text Watermark
- The text field will have pre-set options
in the drop down menu labeled 'Text'. You can choose from those or write your
own in the open field.
- Choose the color of your test in the
drop down menu shown above.
- Set the size of your Watermark with the
size option behind the color menu.
- Directional Options are found in the
field labeled Direction
- Position and Page Range options are at
the bottom as well.
- Click 'OK' when you are finished.
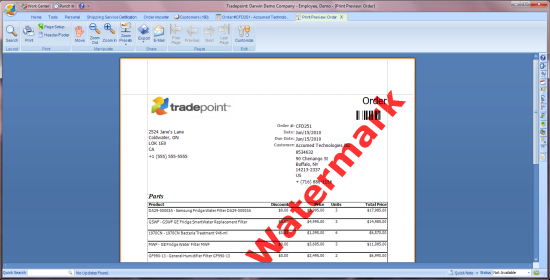
- Save the changes in your document or
choose 'Save As' to create a separate document.
This example shown below is an example of
the preferences set for a Text based Watermark.
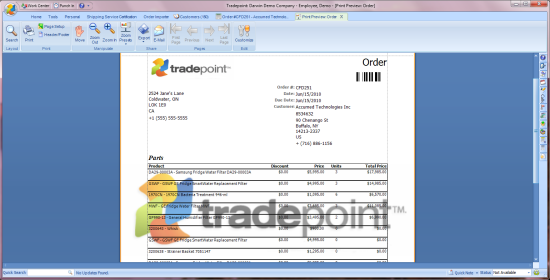
You can also use a company logo or an Image
as a Watermark in any of your documents. Access the Watermark preferences menu
through the menu tool in your edit screen(as shown in the first image). Within
the Watermark preferences menu click on the 'Picture Watermark' tab to take you
to the following screen.
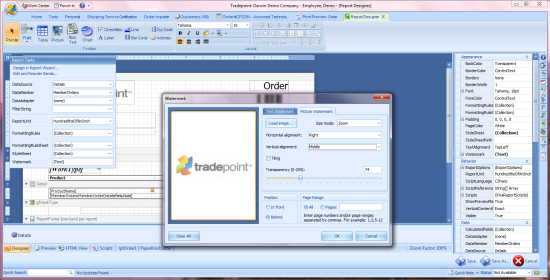
- Image or Logo Watermark
- Click the Load Image icon to choose an
Image from your computer or an outside source. (Any Images you load here will
show up in the size the Image is saved in)
- Choose your options for position, mode
and Tiling(if you want your Image/Logo to cascade repeatedly across your
document.
- Position and Page Range options are at
the bottom of the screen.
- Click 'OK' and save your changes in your
report when you are finished.
The example below is based
on the preferences shown above.
Related Articles
<Articles>