8.8 Adjusting Margins within your Reports
Oct/2/2007
From the print preview screen
margins can be dragged to a different location and will stay there for the
duration you have that screen open. If you want margins to be set as a default
setting then follow the steps below to set a different default setting for your
margin size.
Any report that can be Customized you can
adjust the margins within it from the default to customized settings. As an
example we will look at adjusting the margins on an Invoice.
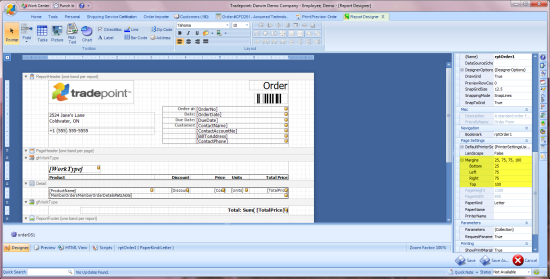
From the print preview screen of an Invoice
click the Customize icon. From there you will notice a small arrow in the upper
left hand corner of the screen that has been circled in the example below. You
will also notice the highlighted section of the screen with the default border
settings.

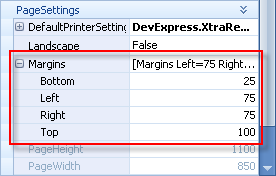
The margins section of the screen will show
the default value settings you see in the screen view above. By clicking on any
one of the lines and typing in a different number you will be able to change the
width of the margins. The measurement value is in millimeters and the example
above shows the bottom and left sides being approximately 1/4 inch with the
right side being 3/4 of an inch and the top being 1 inch.

Simply typing in different values will
increase or decrease the size of that respective margin. Save the changes to
your report when you have finished and your margins will stay within the next
print preview.
Related Articles
<Articles>