9.13 AP-Bills
May/30/2007
The ability to generate Bills is Present in several
locations with Tradepoint. Because overlap often exists between Customers,
Resellers and Suppliers you will find the ability to generate Bills from those
sections specific to a Contact's Account. Also, directly from the General ledger
you have the ability to generate Bills independently since some Bills do not
relate to any specific Contact
The Payables icons are shown below and can be found within
Customers, Resellers, and Suppliers.

The second set of icons is found within the General Ledger
directly and allows you to generate a Bill independently of your existing
Contacts.

Any Bill generated will prompt you to make a payment at
the same time a Bill is generated. Also at that time you will see a Print option
that will also allow you to print checks directly from Tradepoint. Simply click
on the 'Print' icon and then select the 'Customize' icon on the Print Preview
screen to adjust the template to your Laser printer that is attached to your
computer. When you have adjusted this to print correctly save it as a template
and you will be able to choose this option when you Print.

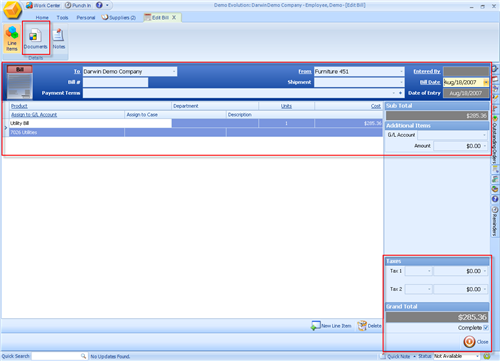
Tradepoint also allows you to scan the Bill into the
Documents section of a Bill to attach it electronically to the file. Simply
click on the Documents icon and choose the Scan option and follow the
prompts. If you have a scanner attached to your computer it will prompt you to
then scan the Document and attach it to the Bill's file.
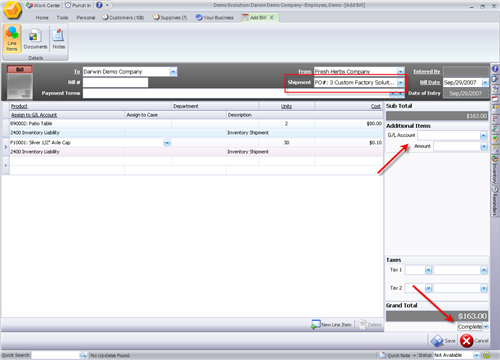
If your Bill is a result of a Purchase Order then you will
be able to generate the bill from the existing P.O. by clicking on the shipment
field and choosing from any outstanding shipments.

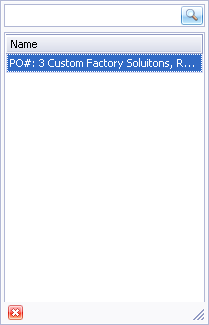
If multiple shipments exist then you will be able to
choose from existing ones in the drop down menu.

Choosing the Shipment will add all items included on that
Shipment (not necessarily what was on the Purchase Order. If there were any
discrepancies on the Inventory that arrived that will be taken into account with
the information that is being brought into the Bill at this point).
Completing the Bill(by checking the Complete box at the
lower right of the screen) will not allow any further items to be added to a
Bill. What this means is for any subsequent shipments a separate Bill will have
to be generated. If a Bill is left incomplete for remaining items in a
following shipment, then when that shipment has been brought in it can be added
to the Incomplete Bill by the steps shown above
On the main Bill window the Bill # field is for the
Bill number on your Bill. If there is no number then be sure to use the Date on
the Bill as the Bill number.
Be sure to set the Date on the Bill the same
as the Date on your Bill and not the date when you received the Bill for
accuracy in Payments.
Related Articles
<Articles>