How to Add a Custom Page to Your Site
Jul/16/2010
The Tradepoint website technology allows you to create as many custom pages
with any relative URL you wish to create within Tradepoint.
Templates
By default there are several templates available:
/templates/sitehelptemplate.aspx
/templates/supporttemplate.aspx
/templates/template1.aspx
/templates/newstemplate.aspx
/memberservices/memberservicestemplate.aspx (this is in a different directly
for security reasons)
Creating a new Page
To create a new page click on the pages tab of the Web sites window
(available from the tools menu).
Click New Page at the bottom of the screen.
You'll be presented with a screen similar to this:
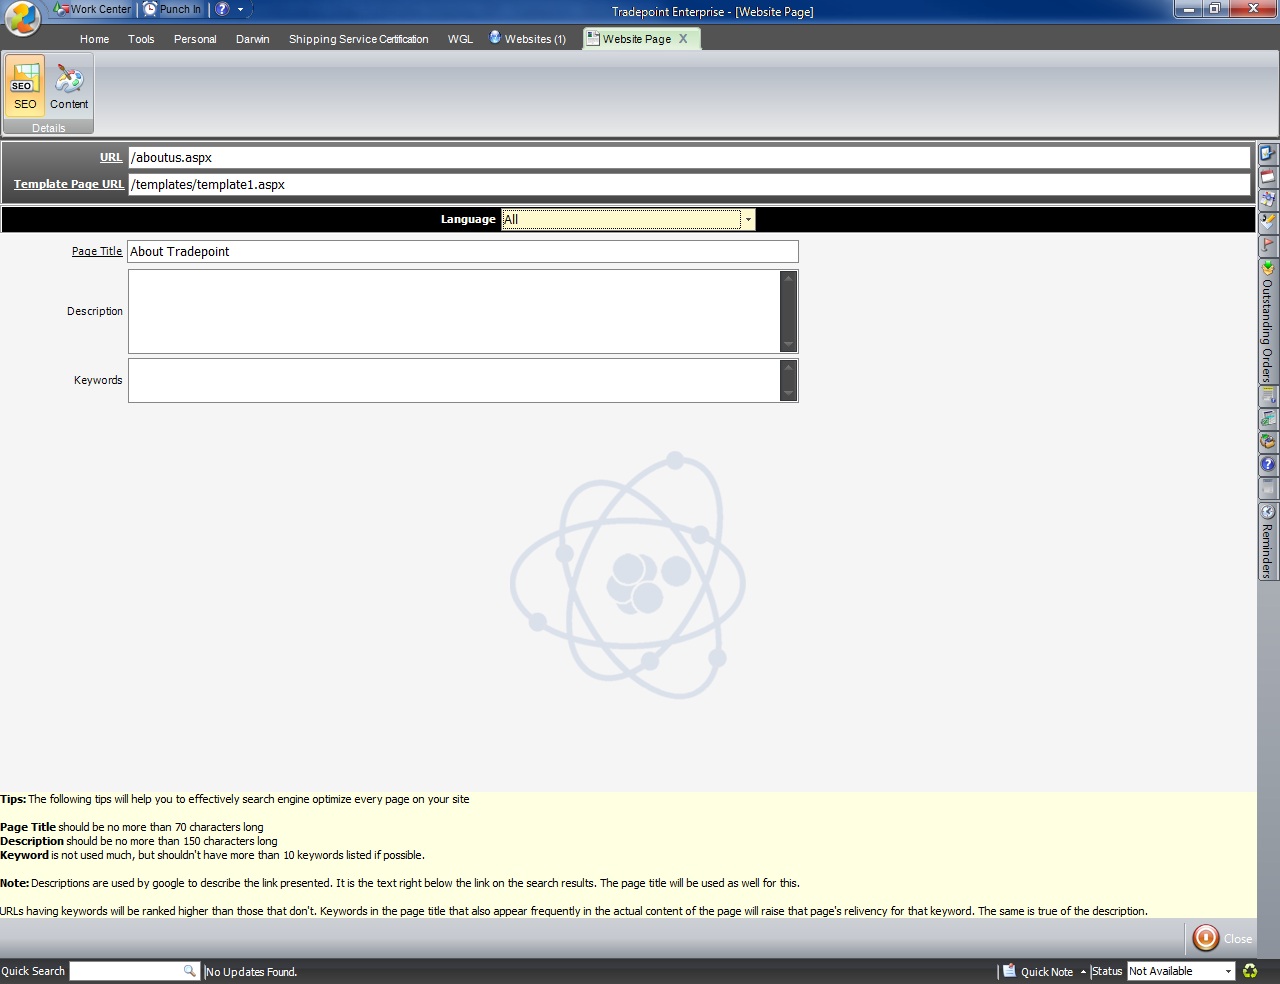
URL: This should be a relative URL to the root of your site
as per above. It should not include your domain name and should always start
with a / to indicate the root of your site.
Template: The template is the relative path similar to the URL but pointing
the template of choice.
Language: Set this to the language that you wish to setup the page for. By
default you'll want to choose "All"
Page Title: This is required and is the Title tag of the HTML page and what
will be displayed on browser tabs and the window bar of the browser window.
Description: This is the meta-description tag for the page and will be used
by search engines to give a short blurb about your page.
Keywords: These are the meta-keywords for the page and will be used for SEO.
They should be related to the page. The more times these words show up on the
page the better.
Adding Content
The next step is to add content. To do so, go to the Content tab of the
page.
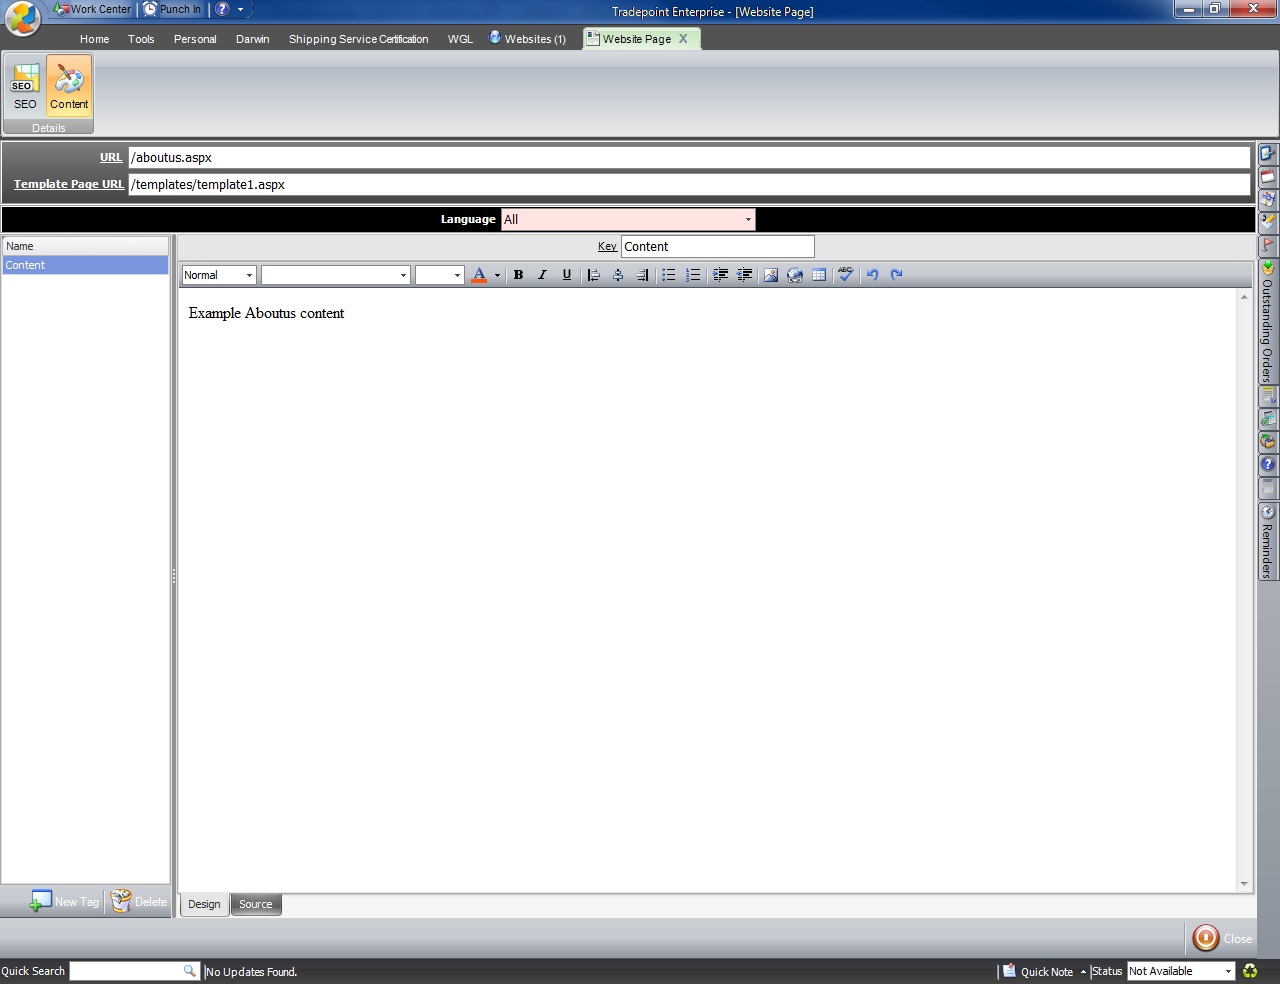
On the left click the New Tag button to add a new tag for the page. All
default templates have a single tag called "Content". Your custom templates may
have many tags as applicable. Name the Key Content and then use the editor to
enter your content for your page as per above.
Note: When editing a page, by default you will not see any content. Make sure
you have chosen your language to ensure that you can see your tags and the
content of the page.
Once complete, click save and synchronize if necessary and your new page will
be available on the website.